

WordPress is a blog publishing application and content management system. The following sections describe how to install and configure WordPress for use with FastCGI on Internet Information Services 7 (IIS 7) and above. This document assumes that you have completed the setup and configuration of the FastCGI extension & PHP libraries. (Described in a later section of the document)
Also, make sure the Visual C++ Redistributable Packages are installed. The easiest way to install WordPress is by downloading it from the official site.
The following article provides guidance for installing WordPress manually. The instructions have been tested and found to work in the following configurations:
- Windows Server® 2012 operating system
- IIS 7
- PHP 7.2.3
- MySQL 8
- WordPress 5.6
Prerequisites
From the base default configuration file provided by PHP, modify the following lines in your Php.ini configuration:
- Define extension\_dir as c:\php\ext (for example, the location of your php extensions directory).
- Uncomment extension=php\_mysql.dll in the extensions list to enable MySQL support.
Download and Unpack the Application
First, download the latest stable release of WordPress. Uncompress the WordPress files and copy the files to C:\Inetpub\wwwroot\wordpress or another directory of your choosing. There is no need to modify permissions on the WordPress Web directory because the default permissions suffice.
Set Up the Database
Before starting the installation procedure for WordPress, you must create a database on your server. Also create a user and grant this user “db ownership” permission to the database. This article uses the following database information:
- Database name: wordpress
- Database user: wordpress
- Account password: wordpress
Modify the Configuration File
Modify the WordPress configuration file to connect to the database.
-
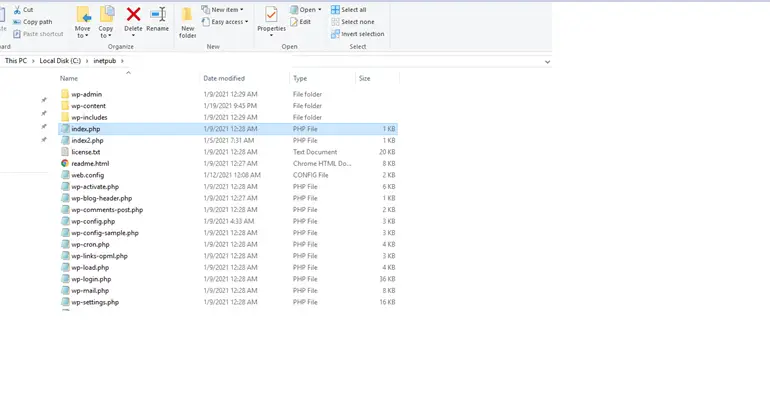
1. From Windows® Explorer, navigate to the installation directory C:\inetpub\wwwroot\wordpress, and rename the file wp-config-sample.php to wp-config.php.
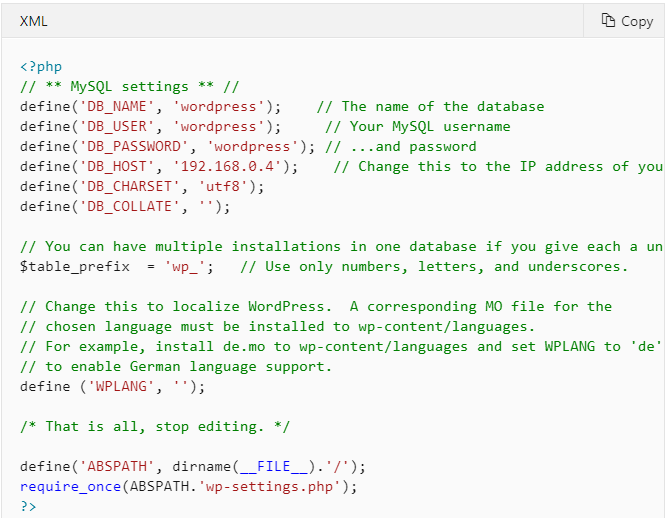
2. Edit wp-config.php; change the DB_NAME, DB_USER, DB_PASSWORD, and DB_HOST values as follows:
Setup and Configure the Application
-
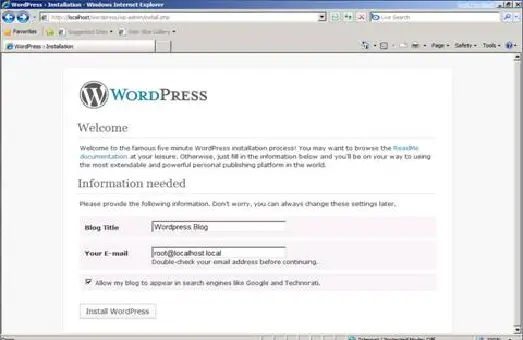
1. From Windows® Internet Explorer®, goto http://localhost/wordpress/wp-admin/install.php.
2. Type the name of your blog and your e-mail address, and then click Install WordPress.
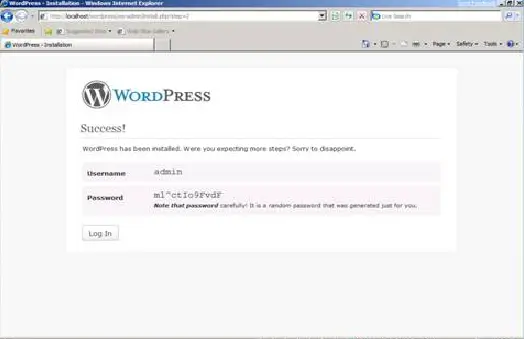
3. Note the temporary password assigned for the administrator account.
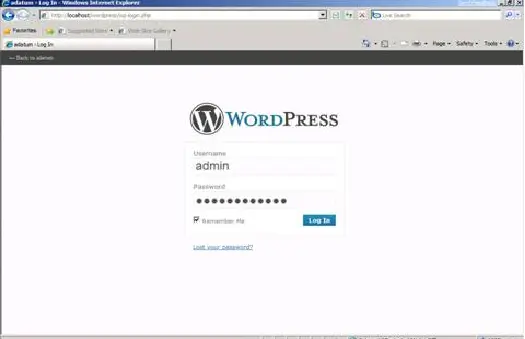
4. Begin managing your blog from http://localhost/wordpress/wp-login.php.
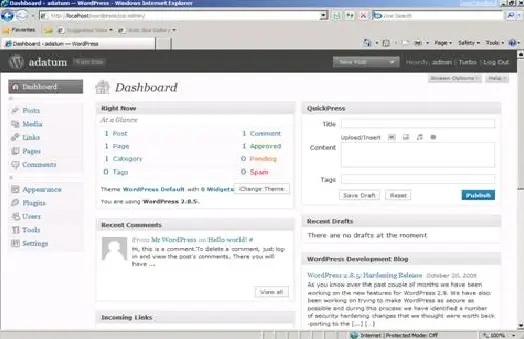
5. The Welcome page appears.
Enable “Pretty Permalinks”
Typically, WordPress users must use “almost pretty” URLs (for example, http://contoso.com/index.php/yyyy/mm/dd/post-name/). With the URL Rewrite module, you can create “Pretty Permalinks” (for example, http://example.com/year/month/day/post-name/) for WordPress blogs hosted on IIS.
The steps that follow assume that WordPress is installed in a Web site root directory. If WordPress is installed in a subdirectory, then the rewrite rules must be included in the web.config file located within the same subdirectory as the WordPress files.
-
1. Install URL Rewrite Go Live release.
2. Log on to WordPress as an administrator.
3. Click the Settings button.
4. Click the Permalinks tab for the Customize Permalink Structure page.
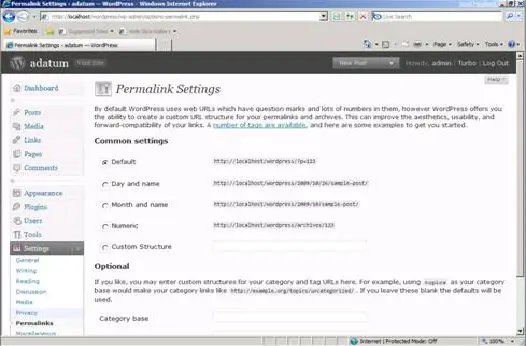
5. Select Custom Structure, and then type
/%year%/%monthnum%/%day%/%postname%/ in the Custom Structure text box.
6. Click Save Changes. You will see that all the blog post links have URLs that follow the format you have specified; however, if you click any link, the Web server returns a 404 – File Not Found error, because WordPress relies on a URL rewriting capability within a server to rewrite requests that have “pretty permalinks” to an Index.php file.
Create Rewrite Rule
-
1. Open the web.config file (located in the same directory as the WordPress files). If you do not have a web.config file in the WordPress directory, create it.
2. Copy and paste the following XML section into the system.webServer element:

This rule matches any requested URL; if the URL does not correspond to a file or a folder on a file system, then the rule rewrites the URL to Index.php and determines which content to serve based on the REQUEST_URI server variable that contains the original URL before it was modified by the rule.
Test the Rewrite Rule
After the rewrite rule is saved to the Web.config file, open a Web browser, and then click any one of the permalinks in WordPress blog. You should see the correct content returned by the Web server for every permalink.

Installing PHP and creating a new website in IIS
-
1. Download the required PHP version from the Thread Safe link.
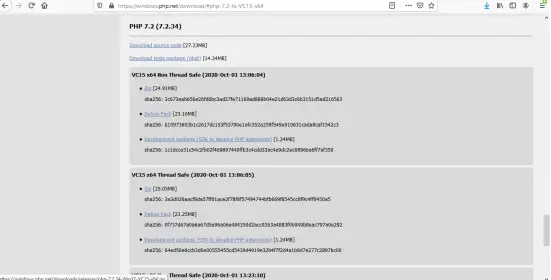
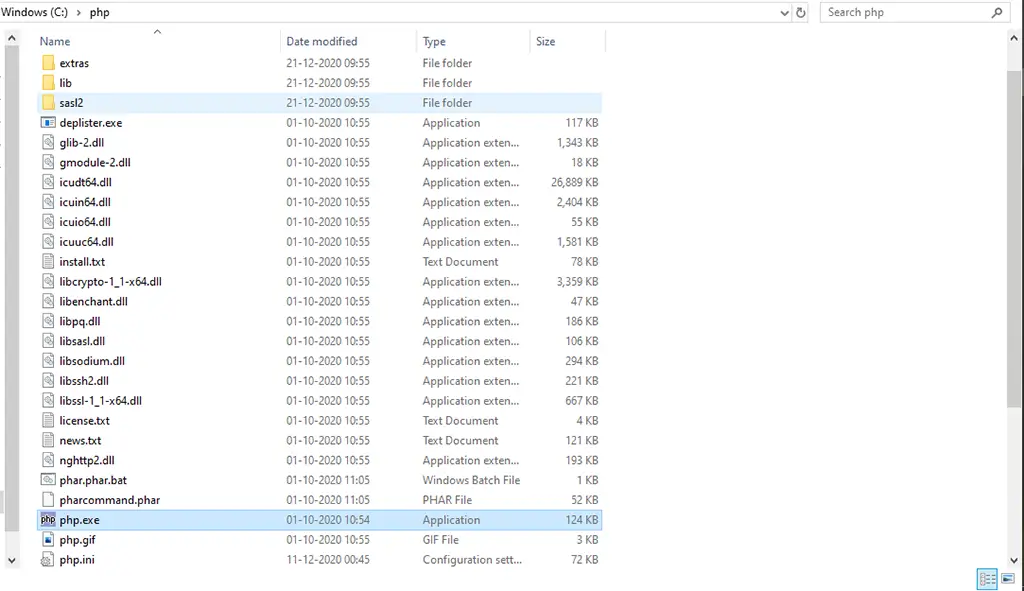
2. Copy the downloaded PHP files and place it inside C:/php path.
3. Open the WordPress project containing wordpress files.
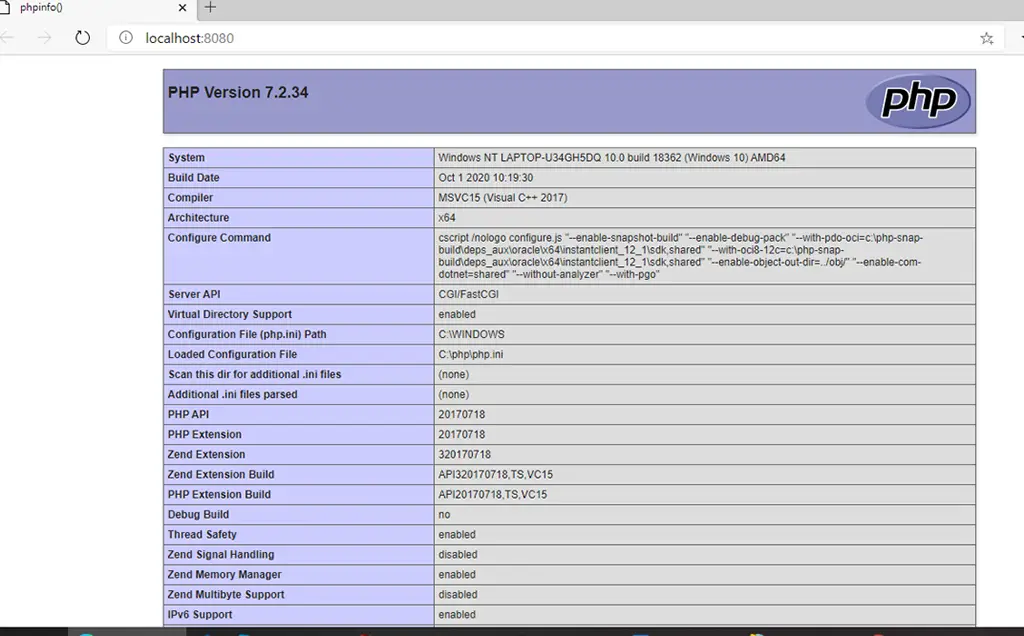
4. Add the lines “echo phpinfo();exit;” to the index.php file present inside WordPress project.
Deployment on IIS
-
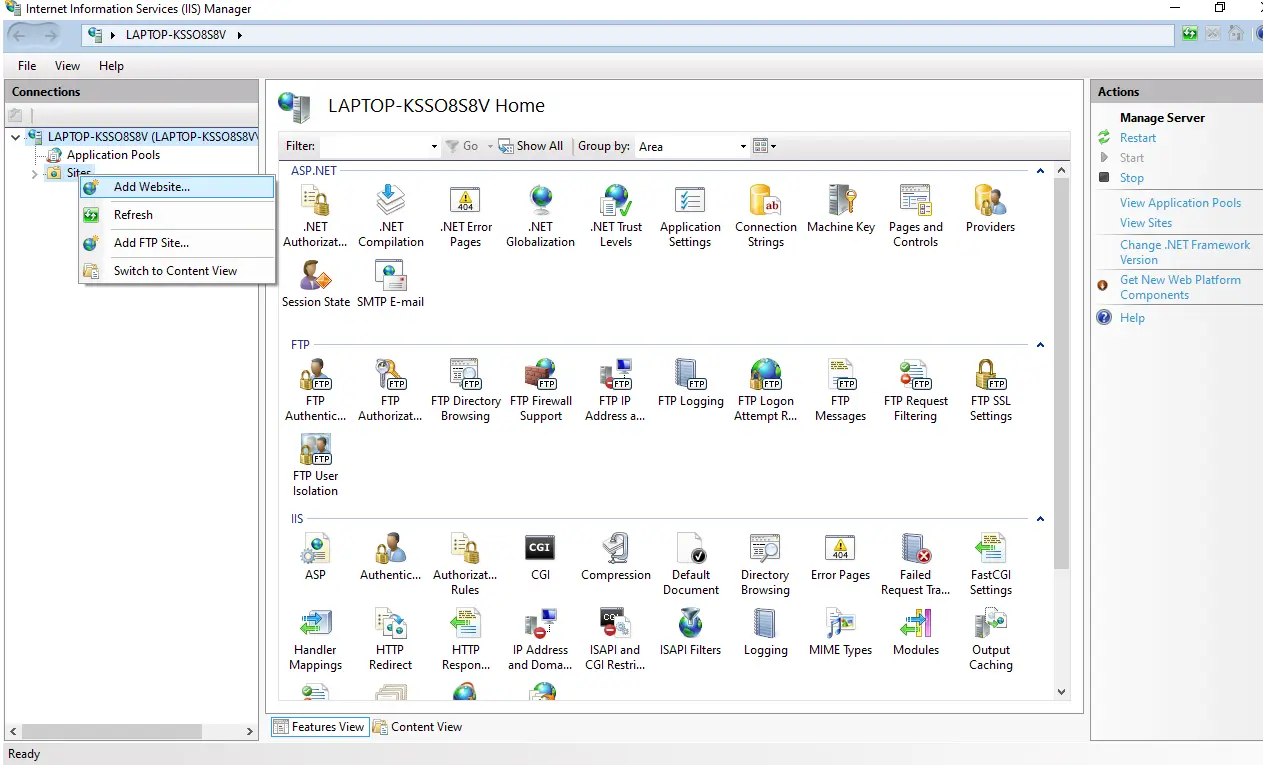
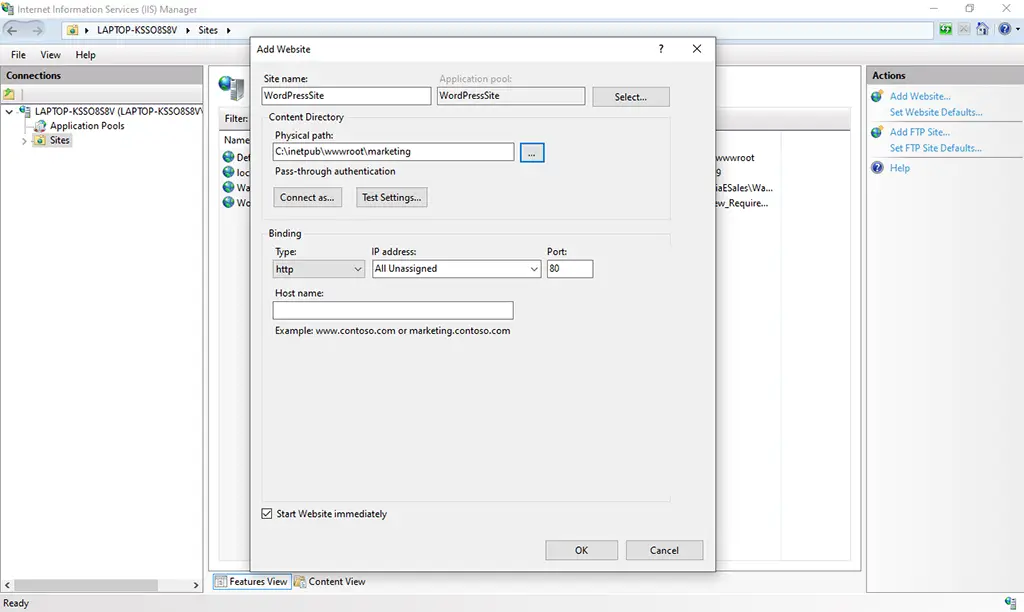
1. For deploying WordPress website on IIS , open the IIS App (Internet Information Services)
Create a new Website by clicking on Add Website and specify the Site name as shown below in the figure.
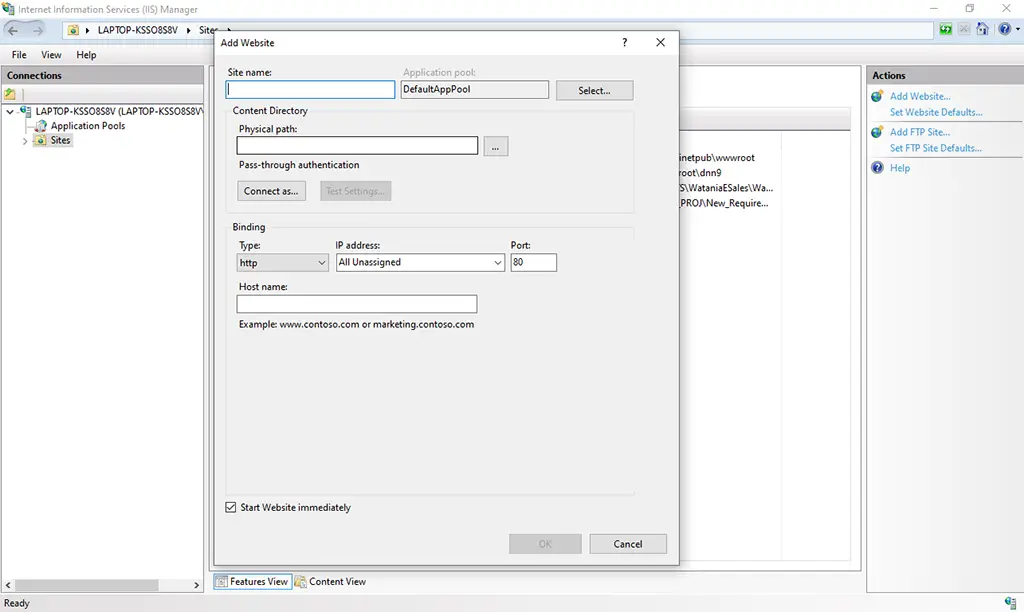
2. Select & Choose the required project folder for the physical path configuration.
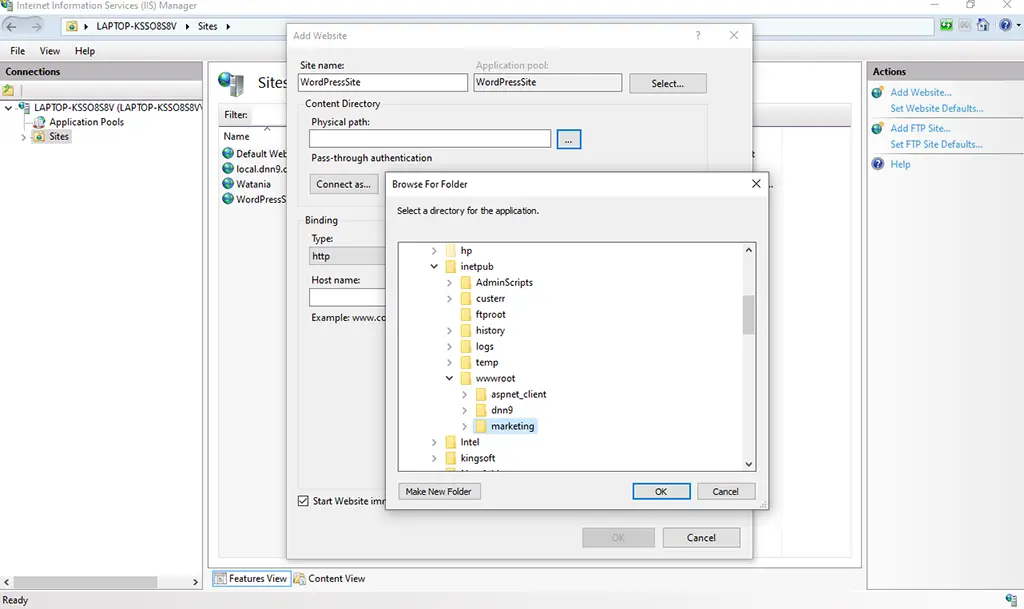
3. Click on the ok button to create the site.
4. In Icons pane, double click on the Handler mapping icon.
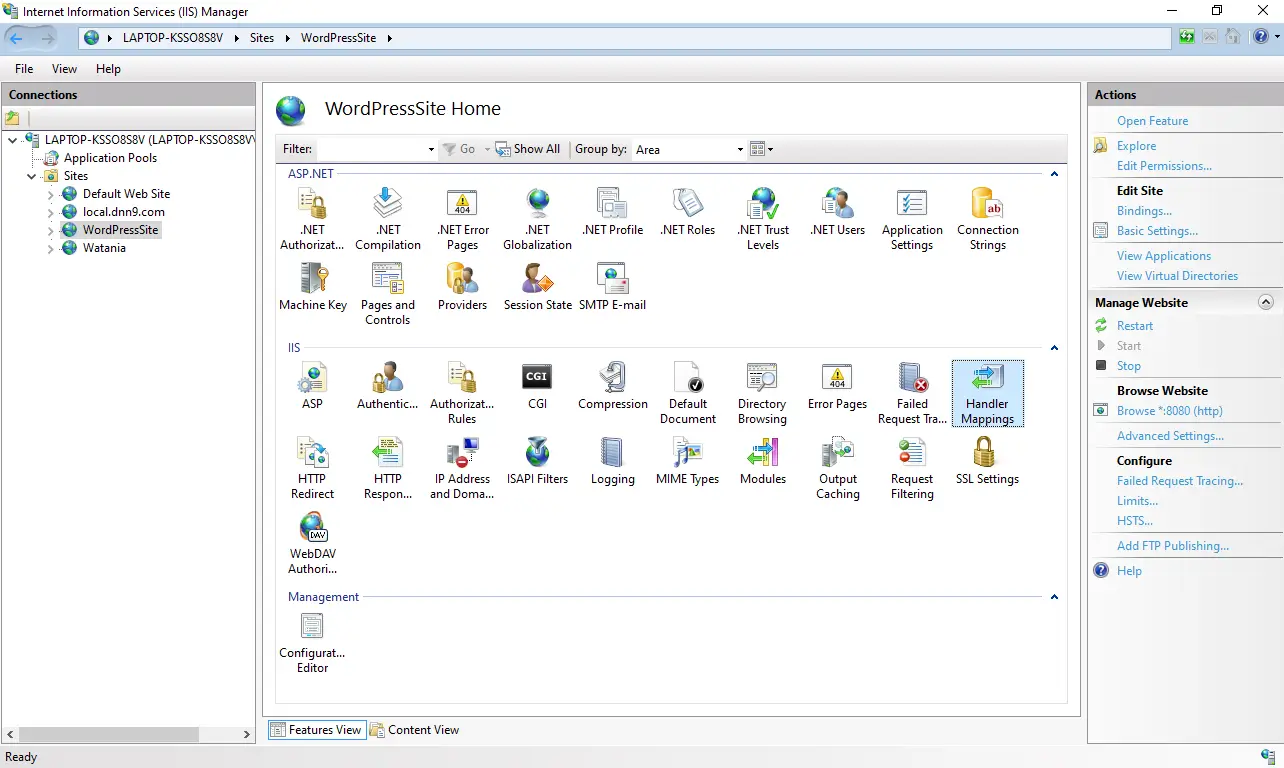
5. From the Actions Pane, click on the Add Module mapping.
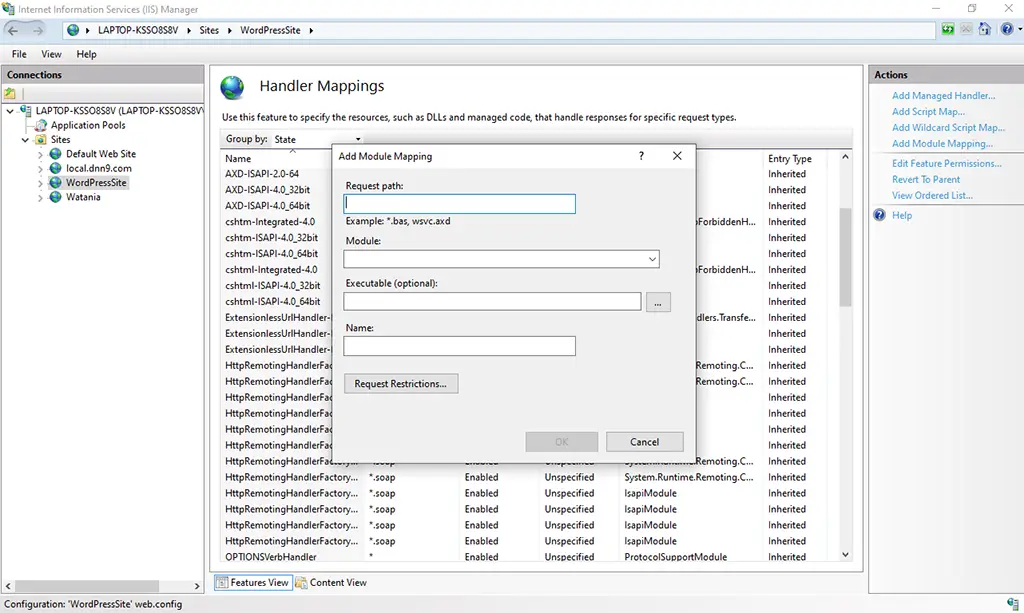
6. Fill up the Add Module Mapping details as mentioned in the below image.
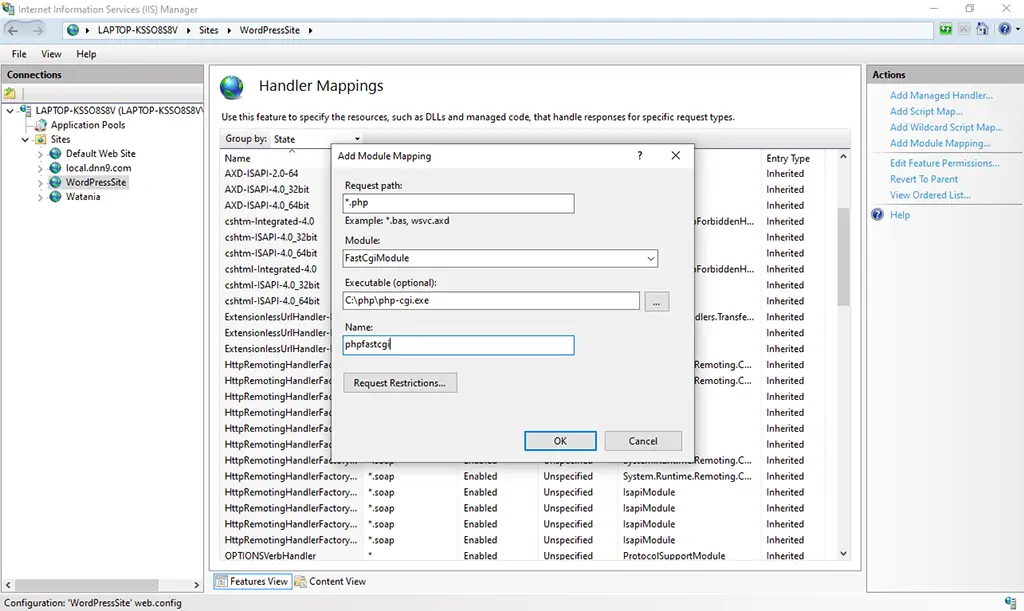
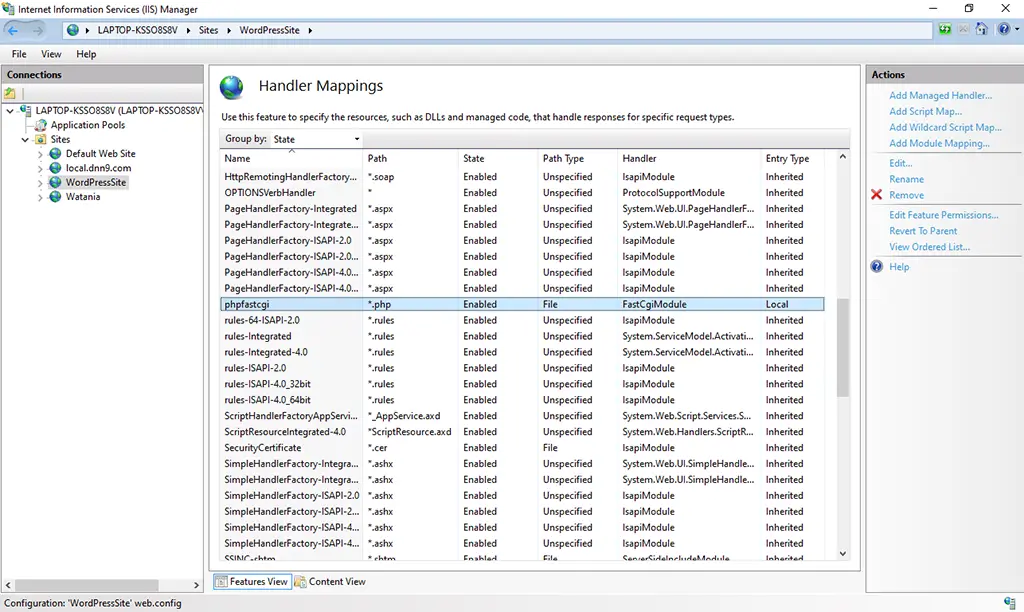
7. You can find the phpfastcgi Mapping created to connect to the php projects as shown in the below image.
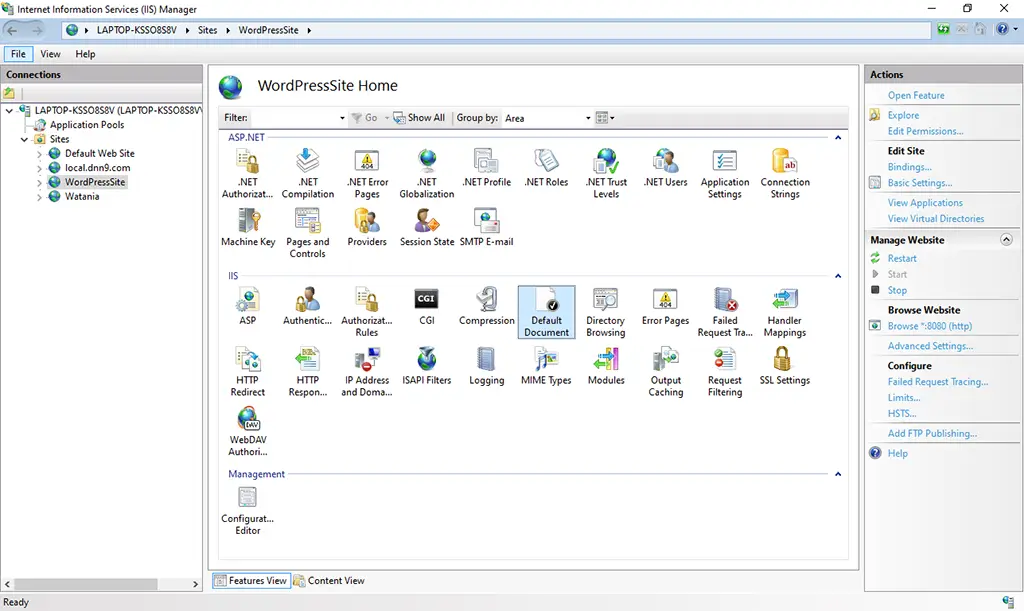
8. Click on the newly created site. You can find “Default Document” icon from the Icons section.
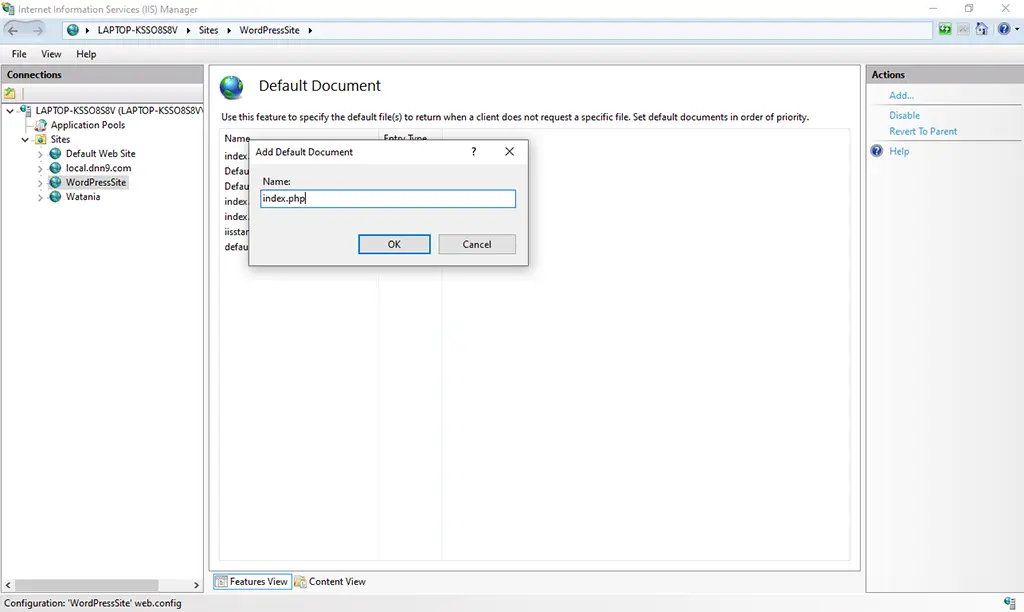
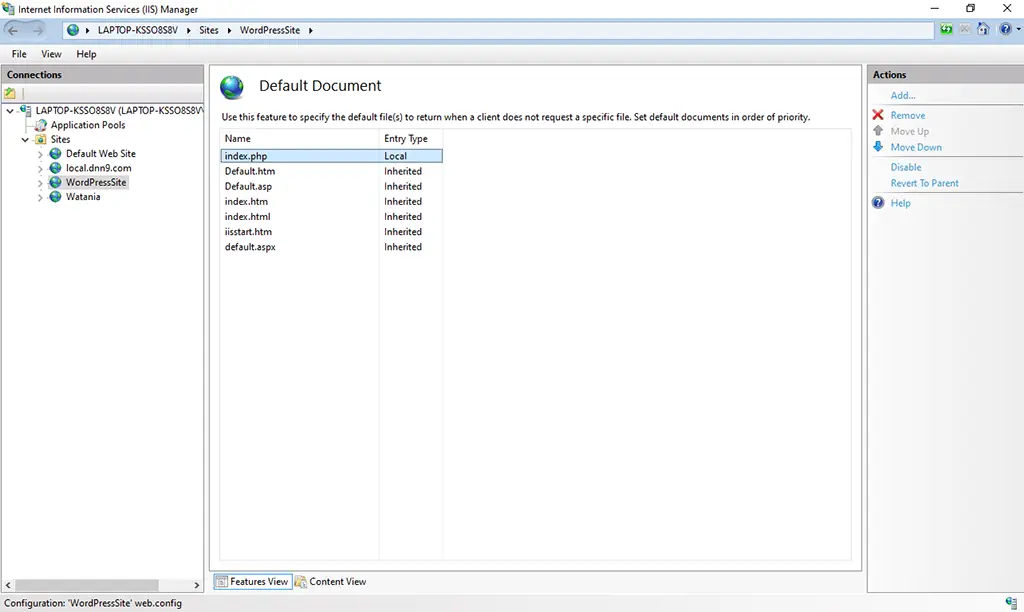
9. Double click on the “Default Document” icon. Then Click on the Add button from the Actions pane. Enter index.php in the Name box as shown below. Then click on the OK button.
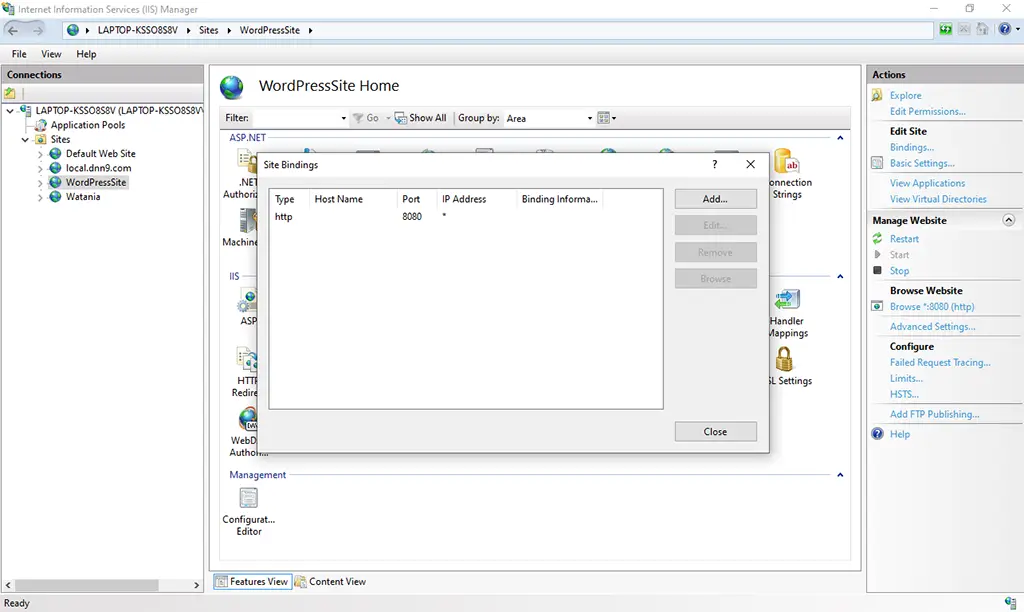
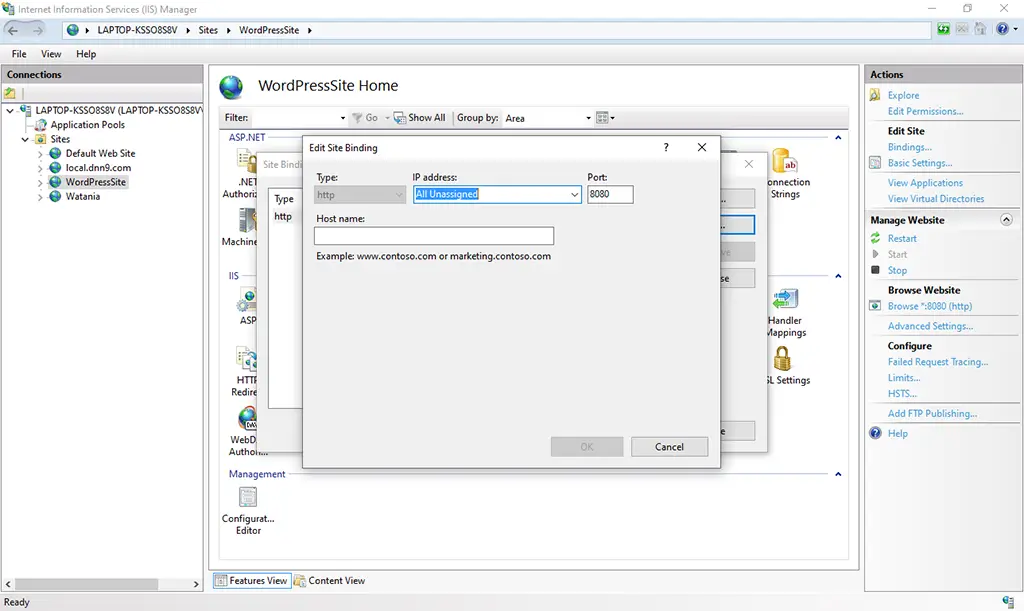
10. Edit the site bindings with a requisite port number etc.
11. Right-click on the Created and click on the browse button.
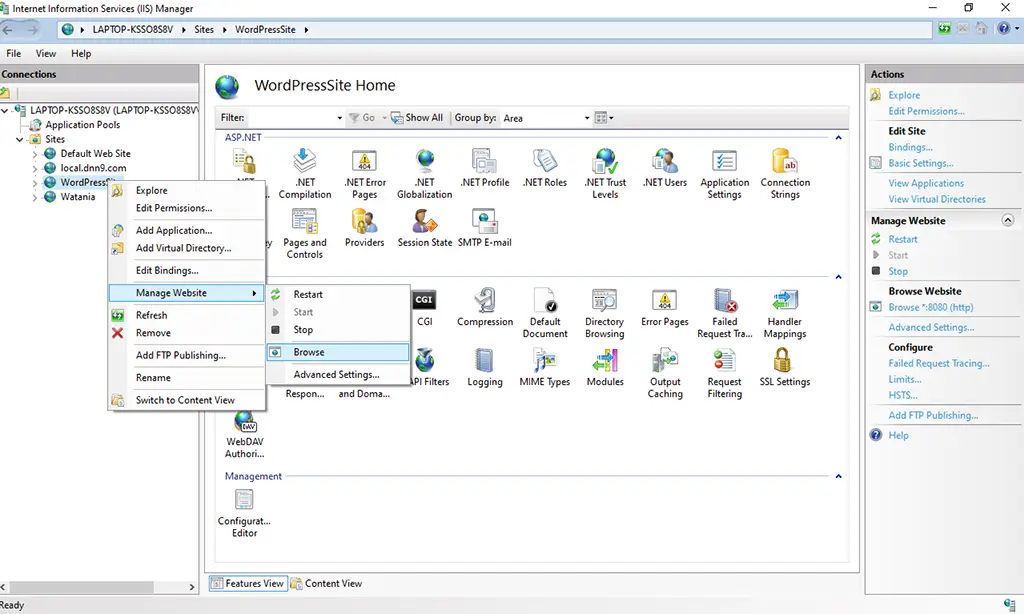
The new site comes up in the browser.
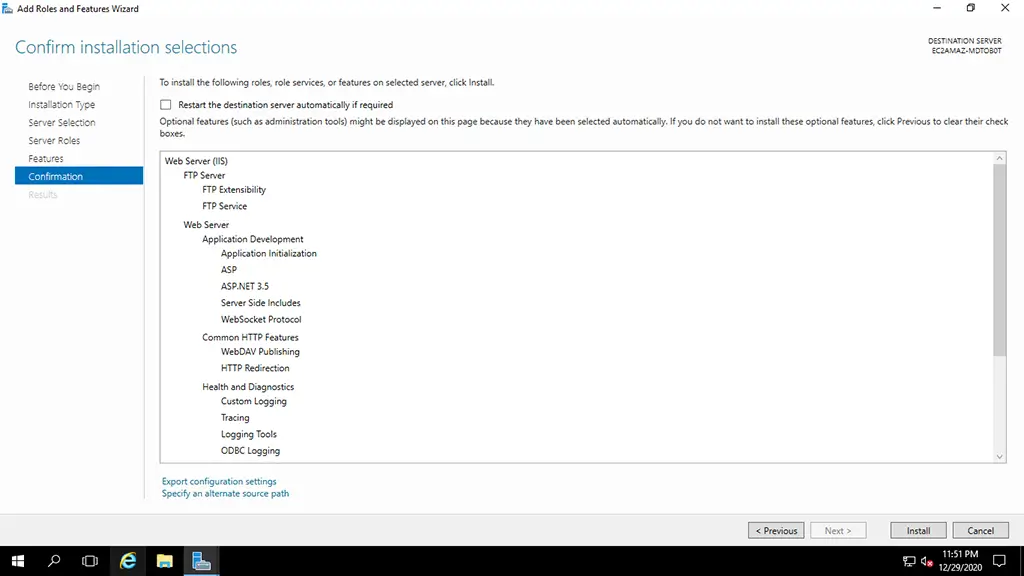
Installing additional features on Remote Server and Configuration
1. Go to the Server Manager and open the “Add Roles and Features” Wizard.
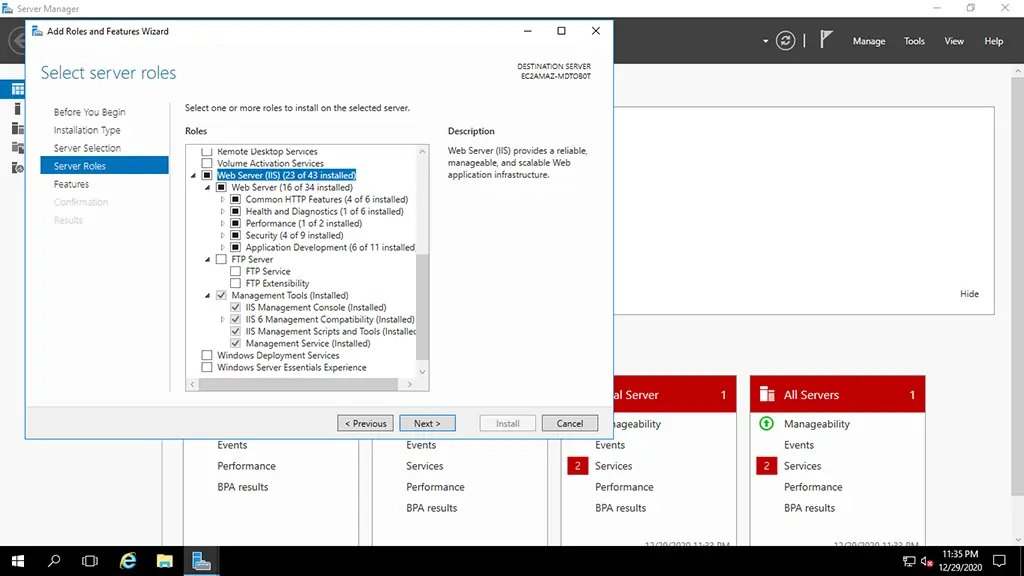
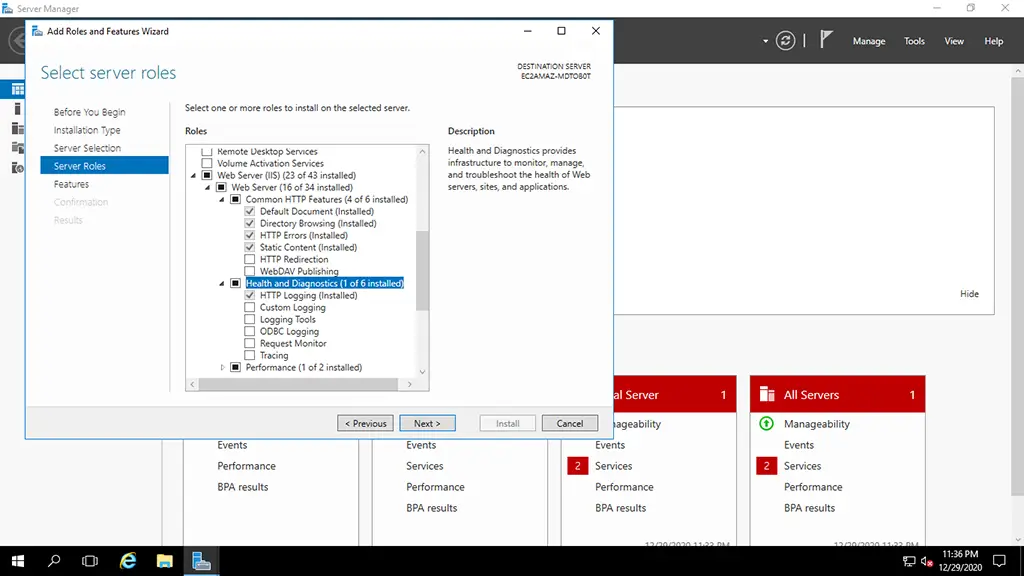
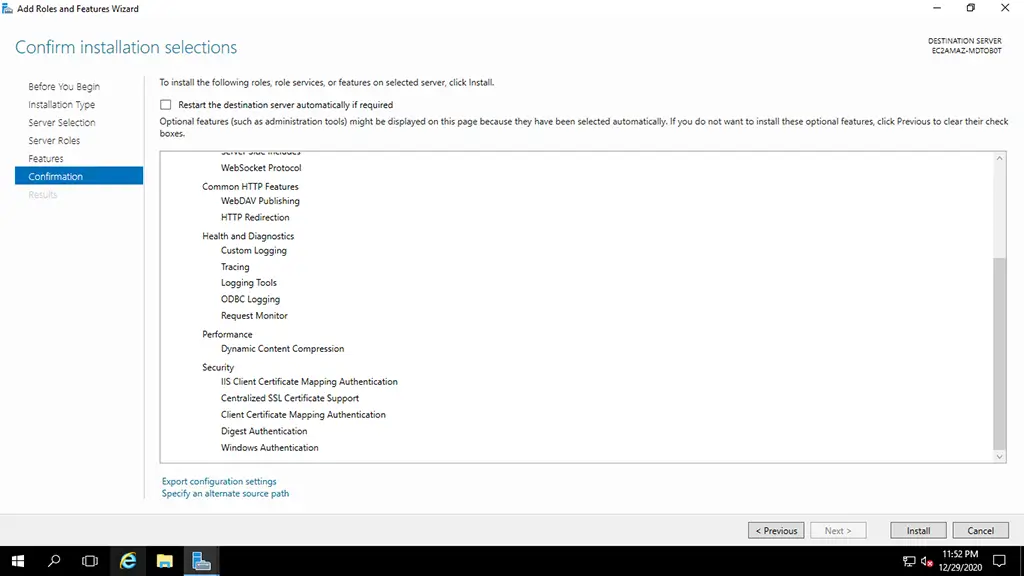
2. Select the features under Common HTTP Features & Health and Diagnostics for installation.
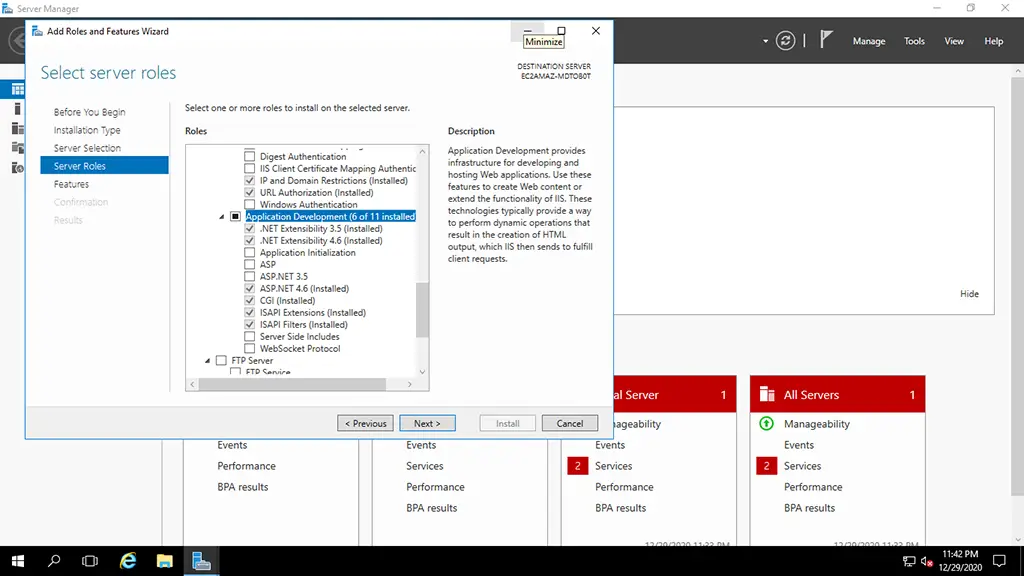
3. Expand the feature “Application Development”.
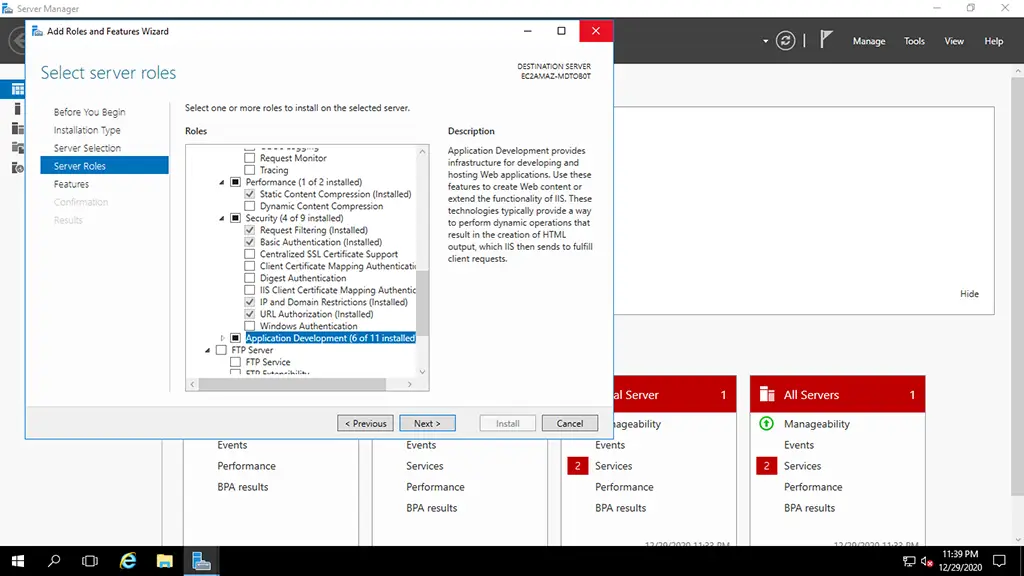
4. Select the features to be installed and then click on the Next button.
5. Select the management tools like IIS 6 Management Compatibility.

6. Confirm the installation selections and then click on the install button.

Install and Configure Sendmail
Download the Sendmail from the related website.
Now extract the downloaded zip to the appropriate location and open the sendmail.ini file to configure the email server as shown below.
;Configure Sendmail [sendmail] ... smtp_server=... smtp_port= ... auth_username= ... auth_password=
An example to configure the Gmail is as shown below.
[sendmail]
...
smtp_server=ssl://smtp.gmail.com
...
smtp_port=465
...
auth_username=username@gmail.com
...
auth_password=password

;OR

[sendmail]
...
smtp_server=tls://smtp.gmail.com
...
smtp_port=587
...
auth_username=username@gmail.com
...
auth_password=password
Now save the file and close it to apply the changes. The settings might be different based on the email server or service provider.
Configure PHP for Sendmail
In case you are using the secure ports 587 or 465, you might get an error in case the OpenSSL module is not enabled for PHP. Make sure OpenSSL module is enabled.
In order to configure PHP, open the php.ini file and update it as shown below.
;SMTP = localhost;
;smtp_port = 25;

...
...

;auth_username = ;
;auth_password = ;

...
...

;sendmail_from = me@example.com

...
...

sendmail_path = C:\sendmail\sendmail.exe
Sample sendmail.ini file
smtp_server=smtp.gmail.com

smtp_port=587

smtp_ssl=TLS

error_logfile=error.log

auth_username=name@domain.com
auth_password=password

hostname=localhost
Sample php.ini file
extension=openssl

;SMTP = localhost

;smtp_port = 25

;sendmail_from = abc@abc.com

sendmail_path = C:\sendmail\sendmail.exe
Send Email
In this step, we will write the program to send an email using the configurations done by us in previous steps. Write a PHP program to send email as shown below.
<?php
$from = "myemail@gmail.com";
$to = "myfriend@gmail.com";
$subject = "Hello Sendmail";
$message = "This is an test email to test Sendmail. Please do not block my account.";
$headers = [ "From: $from" ];

mail( $to, $subject, $message, implode( '\r\n', $headers ) );
// OR - PHP 7.2.0 or greater
//mail( $to, $subject, $message, $headers );
Also, check the error.log file in the Sendmail directory to check for errors. It might also generate a crash.txt file in case of any error.